How to acheive the high end commercial photography look in 5 steps
Unlike weddings, commercial photography takes a much different approach to creating the end photograph. High-end commercial photography might seem out of reach for a lot of photographers that have never produced work at that level. You might think you lack the equipment, skills, or experience to achieve such a polished look to your work. In reality you don’t need a fancy expensive camera, a studio, or an endless closet of equipment to get the same quality look you see on billboards and in magazines.
Here’s a little secret for you: often the work you see isn’t produced in giant studios with huge crews of people and endless budgets. All you need is the game plan, a bit of minimal equipment/software that most photographers probably have on hand anyway, and a little bit of technical know-how. Let’s get to it!

1. Find a space to work in
To to get started in commercial photography and you’re going to need the space. This could be your living room that your garage and it doesn’t have to be huge. Make sure you have some sort of table or countertop that you can work on so that you aren’t having to bend over and try to do things on the floor.
Have enough space where you can lay out all your products and plans and have everything readily available but not in the way. Then turn on some jams and you’re good to go!
2. Invest in a backdrop
Among all the other toys that come along with commercial photography you may need a backdrop of some sort. Although it’s not an absolute must have I would highly suggest investing in some sort of a bad job.
This could be anything from a a 5×7 studio background that you bought for this exact thing or even a blanket hanging on some chairs. The point is you need something to separate the object you’re taking a photo of from its background. This will make your life loads easier in post process later on.


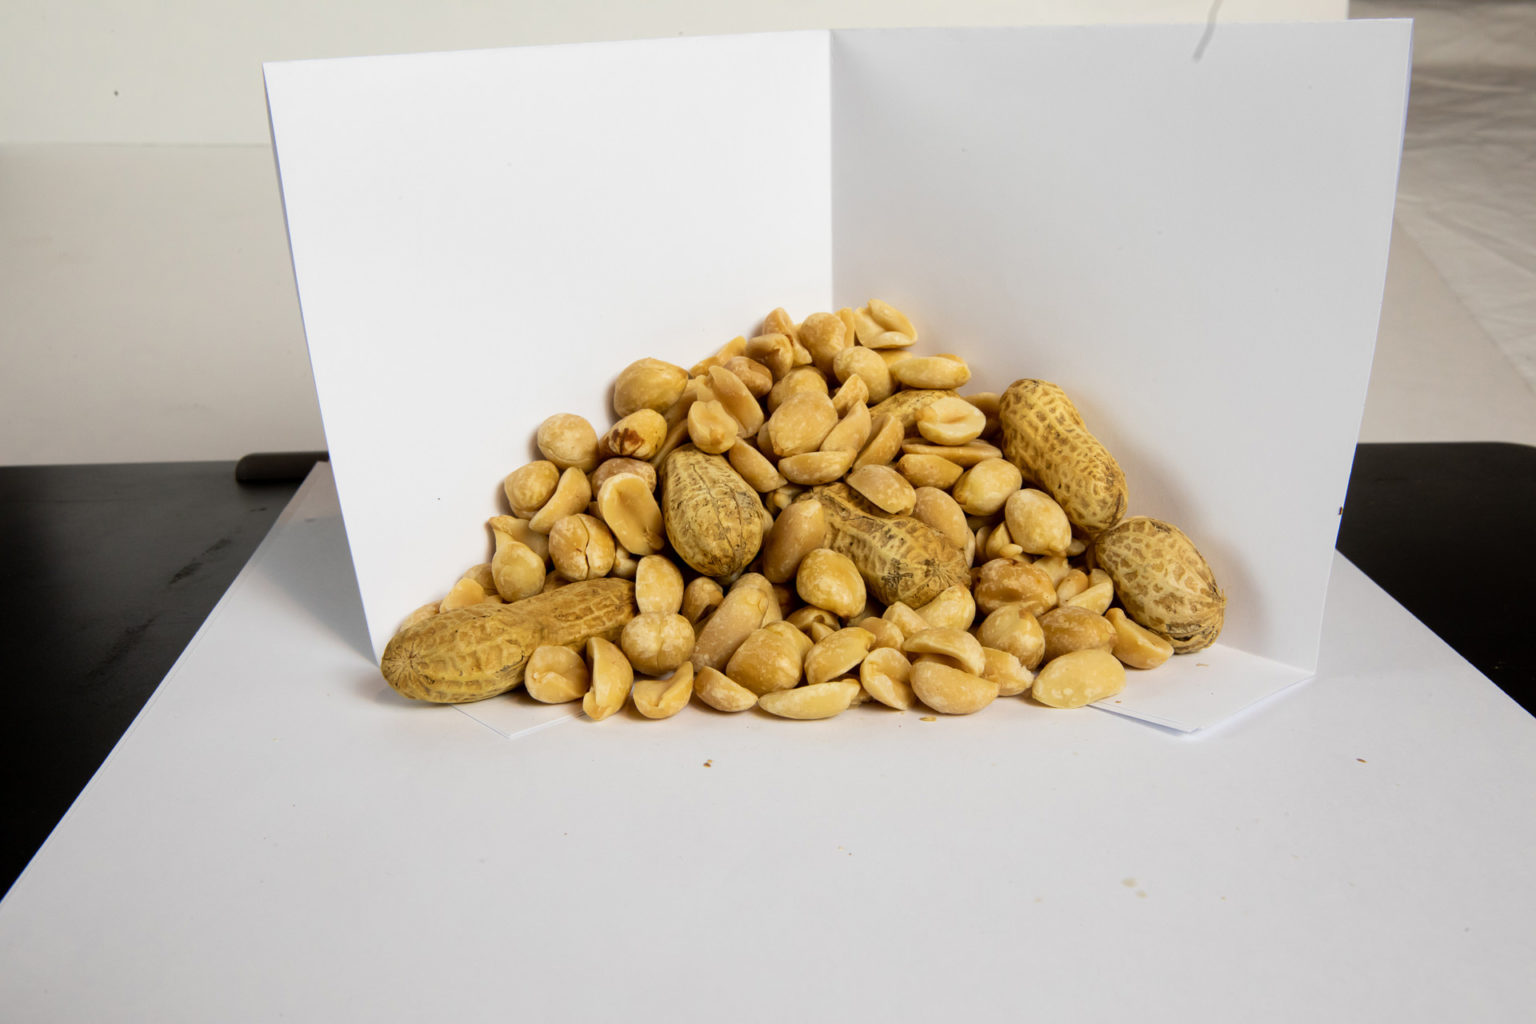

3. Sketch out your final photo
This one might seem obvious but it also might not happen if someone doesn’t tell you to do it. In commercial photography you can easily waste your own time but often there are many hands at play here so it’s easy to waste other’s time, too. In order to make life easier and you minimize the start to finish time it’s best to be able to see exactly what you’re trying to accomplish before hand. This way you can gather all the supplies and materials needed to produce the final image and have them on hand and ready to go so you can knock out each in as you need to build the final one.
4. Lighting doesn’t need to be complicated
For commercial photography you’ll likely need some gear. For all the shots we had a single light which was an Einstein wireless strobe. This is my favorite light and I use it for most things. I also have some Alien Bees and loads of speed lights. All of these would work but if you don’t have any of these Then your lighting set up could be as simple as a dark room with a single window.
Just be mindful of the quality of lights that’s coming in. You want light that’s even in color and intensity so you may even consider using a window sheer to control the light coming in. The most important part is the quality of life not where the light is coming from.
5. Keep lighting and shadows consistent
Commercial photography sometimes takes some post production tricks. When adding all the individual parts together, the only way to make it look natural is if all the light and shadows match so that they appear to be from the same photo. Also, keep in mind when shooting each item of the shadows that it will cast. After you’ve spend hours shooting, cutting out from the background, and then Photoshopping together, the last thing you want to find out is that he have to start over because the beans would cast a shadow on an important part of the bag.
